BASICS 2: Contour, Highlight & Blush
Hi beauty lovers, i know that after our basics tutorial 1 blog you couldn’t wait for number 2, so here it is.
Any questions? How did we do? Comment below! Mwwahh!
Contouring, highlighting and using blush helps define and shape the face. But is also create illusions as you could use this to make your nose appear skinnier, straighter, as well as high cheekbones, smaller forehead. This list is endless!
Tools you will need:
- Contouring brush
- Highlight brush
- Blush brush
- Clean powder brush (to blend all in at the end)
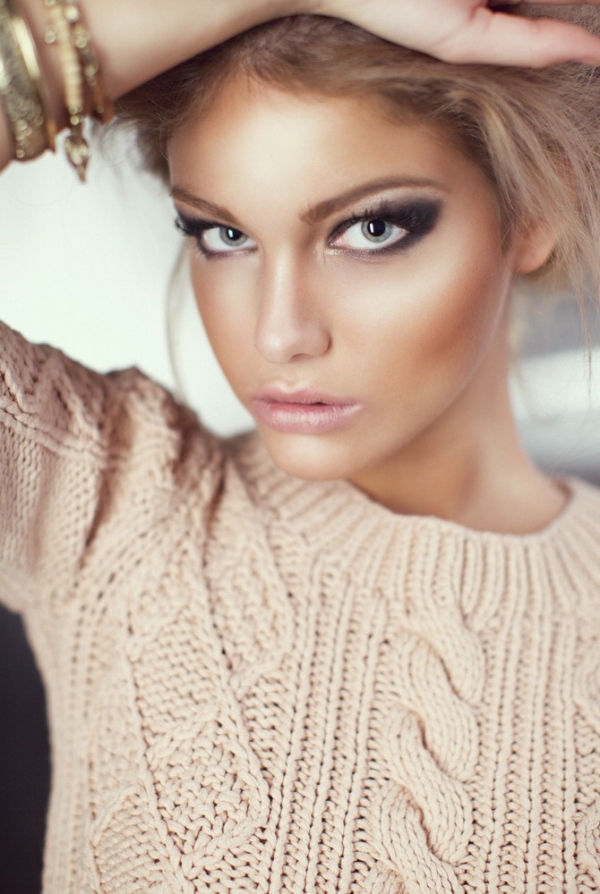
To better understand the process, here is an image which shows the key areas you put bronzer to contour and highlighter to highlight.

Process:
Step 1:
Apply foundation as you would.
Step 2:
Apply a blush using your brush from the apples of your checks to your temple.
Step 3:
Apply an illuminator to the key areas as in the photo above.
Step 4:
Apply a significant amount of bronzer which is darker than your natural skin colour following along the bottom line of the blush application. Do this for the temples and along both sides of the nose, right up to the brow.
Step 5:
Blend with a clean brush, starting from the top cheeks, in a soft circular motion.
For the visual learners, here are the steps in photos

Let us know how you went when you tried this tutorial by commenting below :D
No comments:
Post a Comment